Unlocking Creativity with the Heart Shape 5 Clay Cutter Basic STL Digital Pack
Digital fabrication has revolutionized how we approach crafting, turning a simple 3D printer into a factory for custom tools. At the forefront of this movement for jewelry makers and bakers alike is the Heart Shape 5 Clay Cutter - Basic STL Di bundle. This isn't just a single file; it is a comprehensive collection designed to streamline your production of earrings, brooches, pendant necklaces, and hair barrettes. However, diving into digital downloads without understanding the nuances of file types, printer settings, and material compatibility can lead to wasted filament, ruined clay batches, or frustrating print failures. To get the most out of this versatile pack, you need to look beyond the appealing render images and understand the technical specifications that make these cutters functional.
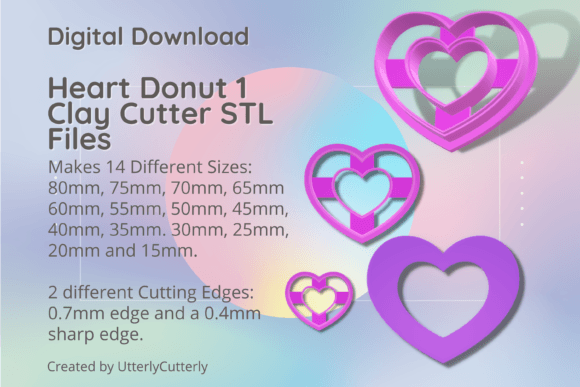
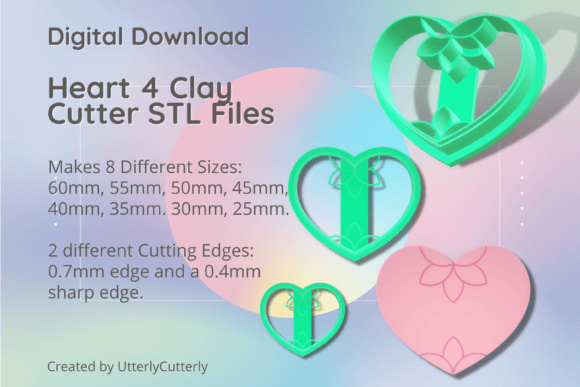
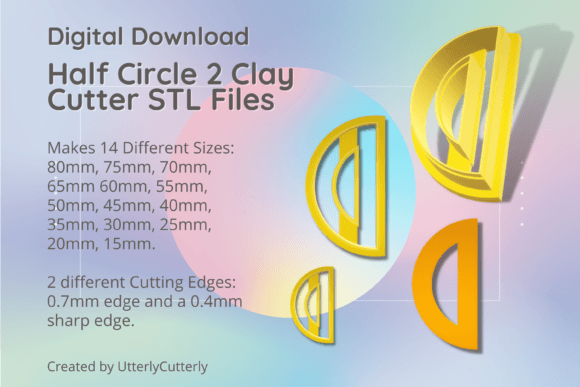
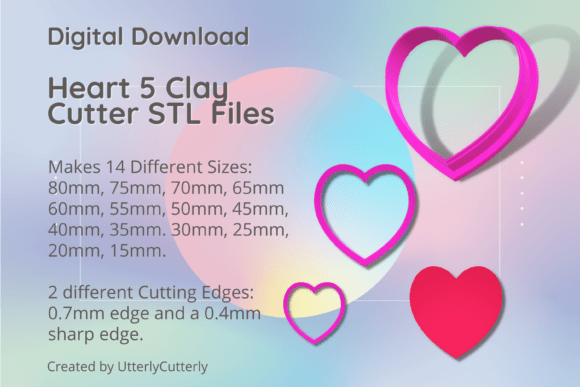
The core appeal of this bundle lies in its sheer versatility. You receive 14 different sizes, ranging from a substantial 80mm down to a delicate 15mm. This gradient allows creators to curate custom combos, layering hearts for complex designs or creating graduated sets for professional-looking product lines. Yet, a common mistake beginners make is assuming that "digital" means "one size fits all" regarding printer configuration. These files come with two distinct cutting edge profiles: a standard 0.7mm wall and a Sharp Edge (SE) variant with a 0.4mm cutting edge. Ignoring the difference between these two can significantly impact your final product's quality.
Understanding Wall Thickness and Cutting Performance
One of the most frequent oversights when using STL cutters is failing to match the cutter's wall thickness to the material being cut. The standard version of the Heart Shape 5 Clay Cutter features a 0.7mm wall with a 3mm thick base and a height of 12mm. This is robust and excellent for firmer polymer clays or thicker cookie dough. However, if you are working with very soft air-dry clay or delicate fondant, this thicker wall might drag or distort the shape upon removal.
Conversely, the Sharp Edge (SE) files offer a 1mm support wall tapering to a razor-thin 0.4mm cutting edge. While this sounds superior for precision, it introduces a new variable: fragility. If you attempt to cut through dense, cold cookie dough or heavily filled polymer clay with the SE version without proper support, you risk snapping the fine edge. The corrective approach here is to evaluate your medium first. Use the SE files for intricate jewelry details where clean lines are paramount, and reserve the standard 0.7mm walls for heavier-duty applications where durability is more critical than microscopic precision.
The Critical Role of Embossing Lines and Clay Thickness
A specific detail that often trips up users is the presence of embossing lines within the design. In this pack, if embossing lines are present, they stand 10.5mm tall. This specification is not arbitrary; it dictates the minimum thickness of your material. A widespread error is rolling out clay thinner than 1.5mm while attempting to use these embossed cutters. When the clay is too thin, the embossing feature cannot press into the material effectively, resulting in a faint or non-existent pattern. Worse, if you press too hard to compensate, you may push the clay completely through the cutter, ruining the shape.
To avoid this, always measure your clay slab before cutting. If your project requires a delicate, thin profile, you may need to skip the embossed variants in this bundle and stick to the plain cutting edges, adding texture later with separate stamps. Alternatively, embrace the volume: roll your clay to at least 2mm to ensure the 10.5mm embossing lines have enough depth to create a crisp, professional impression without compromising the structural integrity of the piece.
Printing Parameters for Functional Tools
Since this is a digital download and not a physical product, the quality of your cutter depends entirely on your 3D printing process. Many users download high-quality STLs like the Heart Shape 5 set but print them with settings suitable for decorative figurines rather than functional tools. A common pitfall is printing with low infill or incorrect orientation. For a cutter to withstand the pressure of slicing through dough or clay, it needs strength.
Ensure you print these files with the base flat on the build plate. Printing them standing up can create weak layer lines along the height of the wall, causing the cutter to split under pressure. Furthermore, consider using PETG or PLA+ rather than standard brittle PLA. The 3mm thick base provides stability, but the material choice determines longevity. Also, pay attention to the "Sharp Edge" files during slicing; some slicer software may try to "fix" the 0.4mm edge by thickening it, inadvertently removing the sharpness you paid for. Always preview your toolpaths to ensure the fine edge remains intact.
Maximizing Value Through Size Variety
With 14 sizes available, from 80mm down to 15mm, there is a temptation to print every single size immediately. This is often an inefficient use of time and filament. A smarter strategy is to analyze your current product line. If you are making stud earrings, focus on the 15mm to 25mm range. If you are creating statement pendants or large cookies, prioritize the 60mm to 80mm files. The beauty of owning the STL files is the ability to print on demand. You can reprint a specific size if one gets lost or damaged, something impossible with traditional metal cutters.
Additionally, these files allow for customization that off-the-shelf tools do not. Because you have the digital source, you can experiment with scaling specific sizes slightly in your slicer software to create intermediate sizes not included in the pack, further expanding your design library. Just remember that scaling affects wall thickness; shrinking a file too much might make the walls too thin to print reliably, while enlarging them might make the cutting edge too dull.
Making the Right Choice for Your Workshop
Before committing to printing the entire Heart Shape 5 Clay Cutter bundle, take a moment to audit your equipment and materials. Do you have a printer capable of fine detail for the SE files? Is your clay consistently rolled to the correct thickness? Are you prepared to handle the maintenance of 3D printed tools, such as cleaning them gently to preserve the edges? By addressing these questions upfront, you transform a simple file download into a powerful asset for your business or hobby.
This collection represents more than just heart shapes; it is a toolkit for efficiency and creativity. Whether you are a small business owner looking to scale production of Valentine's Day merchandise or a hobbyist wanting unique jewelry components, understanding the technical details ensures your results match your vision. Avoid the frustration of trial and error by respecting the design specifications, choosing the right edge type for your medium, and printing with purpose. With the right approach, these digital files will become some of the most used tools in your creative arsenal.