Illuminating Tradition: A Comprehensive Guide to Layered Papercut Nativity Scenes
The holiday season is a time steeped in tradition, where families gather to celebrate stories that have been told for centuries. Among the most beloved of these traditions is the Nativity scene, a visual representation of the birth of Jesus Christ. In recent years, a modern artistic twist has revitalized this classic symbol: the layered papercut Nativity scene. This innovative craft combines the timeless narrative of Christmas with the precision of modern cutting technology and the warmth of ambient lighting, creating a stunning focal point for any home.
Whether you are a seasoned crafter with a workshop full of tools or a beginner looking for a meaningful DIY project, understanding the mechanics and beauty of layered paper art can transform your holiday decorations. This guide explores the purpose, significance, and practical application of these intricate designs, helping you bring a three-dimensional story to life on your walls or tabletops.
The Evolution of Shadow Boxes and Paper Art
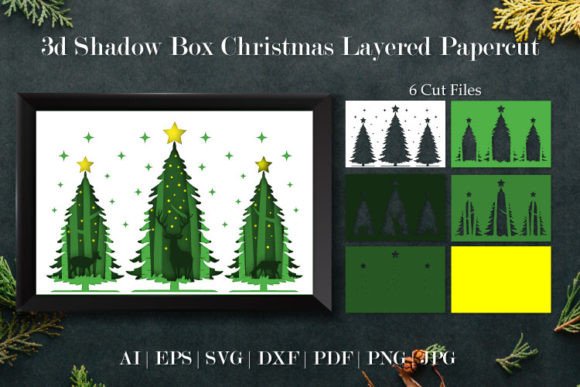
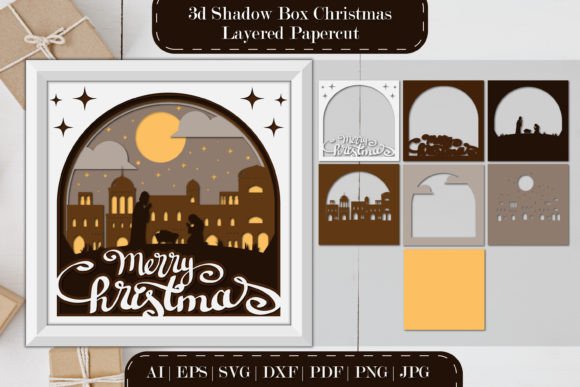
Layered papercutting is not entirely new; it draws inspiration from traditional shadow boxes and Chinese paper cutting (Jianzhi). However, the modern iteration utilized for Christmas decor leverages digital design to create depth and perspective that was once difficult to achieve by hand alone. By stacking multiple layers of paper or cardstock, artists create a sense of distance and dimension. The foreground elements, such as the Holy Family or the manger, appear closer to the viewer, while background elements like stars, hills, or distant shepherds recede, mimicking a real-life landscape.
The significance of this medium lies in its ability to tell a story through light and shadow. When backlit, the cutouts cast soft shadows onto the layer behind them, enhancing the texture and emotional weight of the scene. This transforms a flat image into a living tableau, making the ancient story feel immediate and present. It is a perfect blend of artistic expression and spiritual reflection.
Why Choose a Digital Cut File?
In the past, creating a layered scene required immense patience, a steady hand, and hours of meticulous work with an X-Acto knife. While that method is still valid and cherished by purists, the advent of digital cut files has democratized the craft. Today, designers create complex vector patterns that can be downloaded instantly. These files allow anyone to produce professional-grade results without needing years of training in illustration.
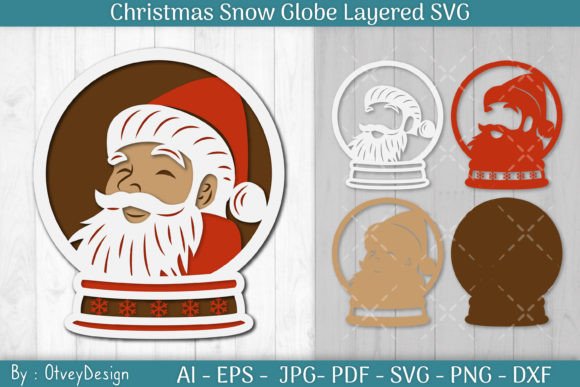
When you purchase a high-quality design package, you are typically receiving a ZIP file containing a variety of formats to suit different needs and software capabilities. Understanding these formats is key to starting your project correctly:
- SVG (Scalable Vector Graphics): The gold standard for cutting machines like Cricut and Silhouette. It ensures clean lines regardless of size.
- DXF: Often used for older cutting machines or specific CAD software.
- EPS6 and Adobe Illustrator (AI): Ideal for professional graphic designers who wish to modify the vectors before cutting.
- PNG and JPG: Raster images useful for previewing the design, printing directly, or using as a reference guide.
- PDF: Great for printing templates manually if you prefer the hand-cut method.
From Screen to Reality: How to Create Your Scene
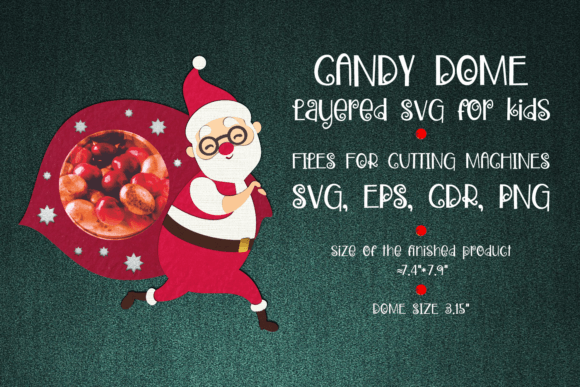
Creating a layered Nativity light box is a rewarding process that bridges the gap between digital technology and tactile craftsmanship. The versatility of these designs means they can serve multiple purposes: a glowing nightlight for a child's room, a sophisticated wall hanging for the living room, or a centerpiece for a holiday table.
Method 1: Using a Cutting Machine
For those who own a Cricut, Silhouette, or similar device, the process is streamlined and highly precise. After downloading the ZIP file, you will extract the SVG or DXF file and import it into your machine's software (such as Cricut Design Space).
- Preparation: Select your cardstock. Heavier weights (65lb to 80lb) work best for structural integrity, especially if you are building a deep box.
- Matting: Secure your paper to a standard grip mat. Ensure there are no bubbles, as this can cause shifting during the cut.
- Cutting: Load the mat and select the appropriate material setting. The machine will precisely cut out each layer of the Nativity scene.
- Weeding: Remove the excess paper from around the design and from the interior negative spaces (like the inside of a star or the arch of a stable).
Method 2: The Hand-Cut Approach
If you do not have access to a cutting machine, do not hesitate to try this project. The included PDF or PNG files can be printed directly onto your chosen paper. Using a sharp art knife (often called a hobby knife or scalpel) and a self-healing cutting mat, you can carefully trace and cut the design. While this requires more time and a steady hand, many crafters find the manual process meditative and deeply connecting to the art form. It allows for organic imperfections that add character to the final piece.
Bringing the Scene to Light
The true magic of a layered papercut Nativity is revealed when illumination is added. Without light, it is merely a stack of paper; with light, it becomes a beacon of the holiday spirit. To convert your cut layers into a functional light box, you will need a few additional supplies: a frame (deep enough to hold the layers), spacers (foam board or wooden strips), and a light source.
LED strips are the recommended lighting solution. They are energy-efficient, emit very little heat (crucial for paper safety), and are available in various colors. You can line the inner edges of your frame with these strips. For a traditional look, warm white LEDs create a serene, candlelit atmosphere. However, modern creativity allows you to mix colors. Some crafters program their LEDs to shift slowly from blue to gold, simulating a twilight sky over the manger. This customization makes every Nativity scene unique to its creator.
Versatility in Decoration
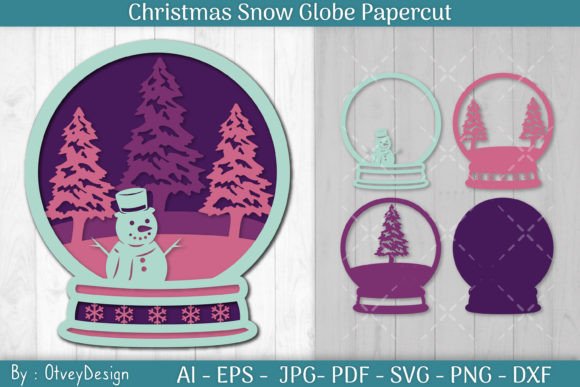
One of the greatest strengths of this design format is its adaptability. Because the layers are separate, you can experiment with spacing. Placing the layers further apart creates deeper shadows and a more dramatic 3D effect, while placing them closer together results in a flatter, more illustrative look.
Furthermore, these scenes fit seamlessly into modern interior design. Unlike bulky plastic figurines that may clash with contemporary decor, a framed papercut scene looks like a piece of fine art. It can be hung on a wall as a shadow box or stood upright on a mantel. For educators and parents, it also serves as an excellent tool for storytelling, allowing children to see the different elements of the Christmas story separated and then combined.
Common Misunderstandings and Tips for Success
Beginners often assume that layered paper art is fragile or too difficult to assemble. In reality, with the right adhesive and framing, these pieces are quite durable. A common mistake is using glue that warps the paper; spray adhesive or double-sided foam tape is usually superior for maintaining flatness. Another misconception is that you must use expensive specialty paper. While archival paper lasts longer, standard cardstock from a local craft store works perfectly well for seasonal decorations.
It is also important to remember that creativity is encouraged. The provided SVG files are a foundation, not a rulebook. Feel free to paint the edges of your paper layers with gold leaf for a regal touch, or add glitter to the "star" layer. You might even choose to leave certain layers uncut to create silhouettes rather than detailed cutouts. The goal is to create something that resonates with you and your family.
Conclusion: A Gift of Light and Story
The layered papercut Nativity scene represents a beautiful convergence of faith, technology, and artistry. It invites us to slow down during the busy holiday season and engage with the story of Christmas in a tangible way. Whether you are utilizing a high-tech Cricut machine or a simple art knife, the result is a personalized masterpiece that spreads warmth and light.
As you embark on this creative journey, remember that support is available. If you encounter issues with file formats, need advice on layer spacing, or discover an error in a download, reaching out to the designer is always the best course of action. Most creators are passionate about their community and are eager to help you succeed. So, don't hesitate to explore these products, ask questions, and let your imagination shine. By bringing these layers to life, you aren't just making a decoration; you are keeping a story alive for a new generation.
Happy crafting, and may your holidays be filled with light!